I'm going to have a warning in a little bit; pay attention to it!
One of the things you run into when repairing/restoring firearms, old ones in particular, is replacing screws, both wood and metal types. Sometimes a parts dealer will have them, sometimes not, or they may just cost more than you're willing to pay. You can buy new ones, but they are generally zinc plated to make them nice & shiny, and you can't blue them. What you can do is strip the zinc plating off, after which a steel screw can be blued or browned.
WARNING: this method involves the use of acid. If you get careless with this stuff, it WILL bite you. Depending on how careless/unlucky/stupid you are, the bite can range from a little redness on the skin to serious chemical burns to- if you get it in your eyes- eye damage or blindness; and if you inhale the fumes, it can damage your lungs. When you're handling the stuff wear safety glasses or goggles, wear gloves and- preferably- a long-sleeved shirt, and work either outside or in an area with good ventilation. And even outside, it might be a good idea to wear some type of breathing protection. I try to always have fresh water available in case I have to rinse myself off, and some baking soda to neutralize spills. In short: BE CAREFUL WITH THIS STUFF!
In this case, a guy needed the rear nose cap screw for a #1 MkIII Enfield rifle. It's a panhead screw with, thankfully, standard threads. We found a matching screw in my junk box, too long but that's fixable with a hacksaw and file. First we ran it into place and found out how much to cut off, trimmed it, then used a fine file to clean up the cut and give a slight taper to the end so it screwed in nice & easy. Now comes stripping. First, you need some way to hang it into the acid. I use a piece of stainless steel wire; stainless just because I have some handy in the right size, plain steel wire would be fine, but I don't think I'd use copper or aluminum. I don't know how aluminum would react with the acid, and copper would strip off into the acid and might wind up depositing on the metal.
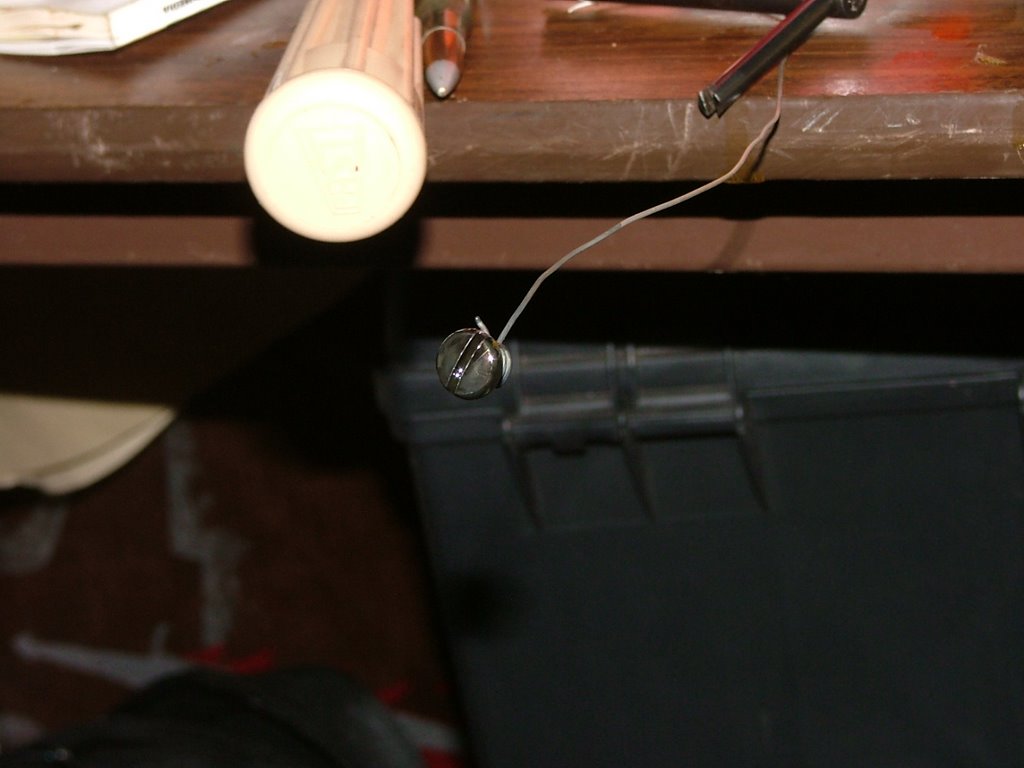
If there's any oil or grease on the screw, clean it off thoroughly first. Then I wind the wire around the threads a few times to hold and then turn it so the head is either down or angled down:

Then into the acid. I use muriatic acid I get at a home repair place, you can also find it at pool supply stores. Swimming pool, dammit, not... never mind. Then I lower it into the acid:

Even on good-sized bolts, I've never seen it take more than about 15 seconds. It'll start bubbling as soon as it goes in, when the bubbling stops it's done. Lift it out, cap the acid, and rinse the screw & wire thoroughly. It should have a slightly 'frosted' appearance. Dry it off and dip it into(in this case) Perma Blue:

(please ignore the messy work area)
It's a good cold blue you can find all over, including Wally World.The directions say to dip or swab on, give it a minute, then rinse and if necessary polish with steel wool and repeat for a darker blue, then rinse, dry and oil. If you do repeat, after the steel wool I'd suggest washing with at least dish soap and water; steel wool has oil on it and it can interfere with the bluing process.
In this case, I left it with one treatment. Hard to tell from the picture, but it gave a nice, even color that matched nicely with the nose cap:
That's it. Fairly straightforward process, just be careful.
Notes:
Color will depend not only on the bluing chemicals, but on the steel in the screw/bolt/pin. Some alloys will color better than others, but most screws and bolts- and nails and music wire for pins- are a simple mild or high-carbon steel that colors well.
If you don't get any oil or grease off, even that from your fingers, it will affect the coloring, in some cases can prevent it from bluing at all where the traces are.
You can adjust the color somewhat by the time you leave the bluing solution on, by steel-wooling the piece after, things like that.
No comments:
Post a Comment